Home
RN Type and Screen Checklist
Check off each step performed to ensure correct labeling has taken place
Click
here
for printable summary
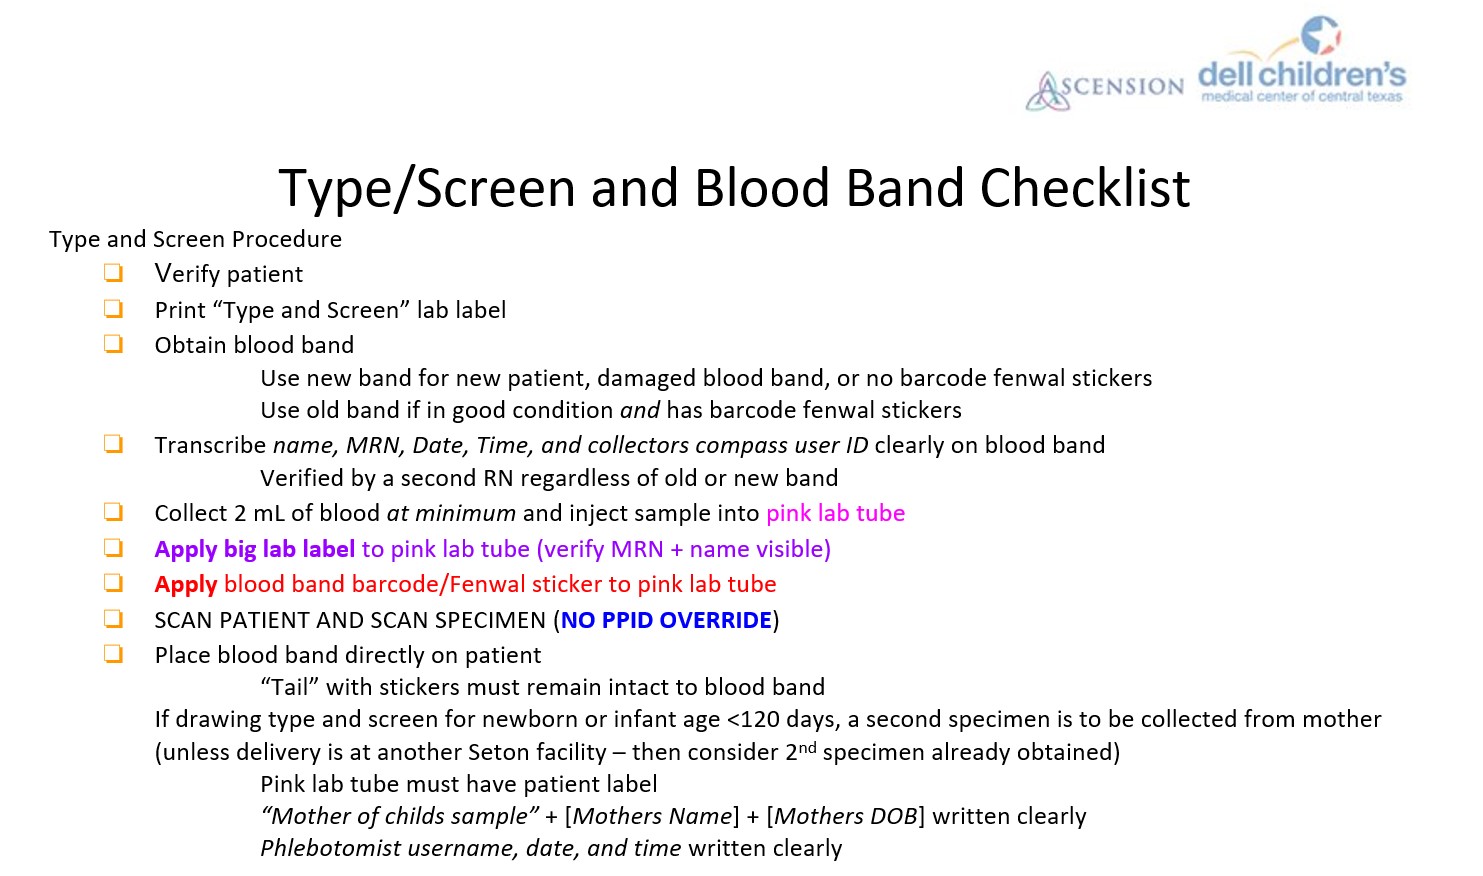
1. Verify the patient
2. Print the "Type and Screen" lab label
3. Obtain a blood band
If the patient already has a blood band and it is in good condition
and has a barcode fenwal sticker
, continue to use this.
Use a new blood band for a new patient, or if the old band is damaged or does not have any barcode fenwal stickers
4. Transcribe the
name, MRN, Date, Time and collector's Compass user ID
clearly on the blood band
The labeled blood band should be verified by a second RN, regardless of whether this is an old or new band
5. Draw specimen by collecting 2 ml of blood at minimum and inject sample into a
pink lab tube
6.
Apply big lab label
to the pink lab tube
Verify that the MRN and name are visible and match the patient sticker.
7.
Apply blood band barcode / Fenwal sticker
to the pink lab tube
8.
SCAN PATIENT AND SCAN SPECIMEN (NO PPID OVERIDE)
9. Place blood band directly on patient
Note: "Tail" with stickers must remain intact to blood band
Note: If drawing type and screen for newborn or infant age <120 days, a second specimen is to be collected from mother
If baby's delivery is at another Ascension Seton facility, then consider 2nd specimen already obtained
Pink lab tube must have patient label
"Mother of childs sample" +
Mother's name
+
Mother's MRN
written clearly
Phlebotomist username, date and time written clearly
Back